Click on this image to see a larger picture
Click on this image to see a larger picture
This page was originally written before I had
a manual for the printer. By examining the printer software I figured out most of the
printer's functions, and put all I found on this page. When I received the printer manual I
decided that I might as well include both this page and the manual on the site. The manual
can be found by clicking here:
The Psion Printer II Manual (1988)
The Psion Printer II Manual (1989+)
The manual is well written for people who want to simply use the printer, while this page
contains some more in-depth technical information about how it works. If your printer is
not working properly however, see:
Repairing the Psion Printer II
Description
Loading the paper
Normal printing
OPL and the Printer
LPRINT
GPRINT:
XPRINT%:
Checking presence of printer
OPL and the Card Reader
XSWIPE%:
SWIPE$:
How the Printer works
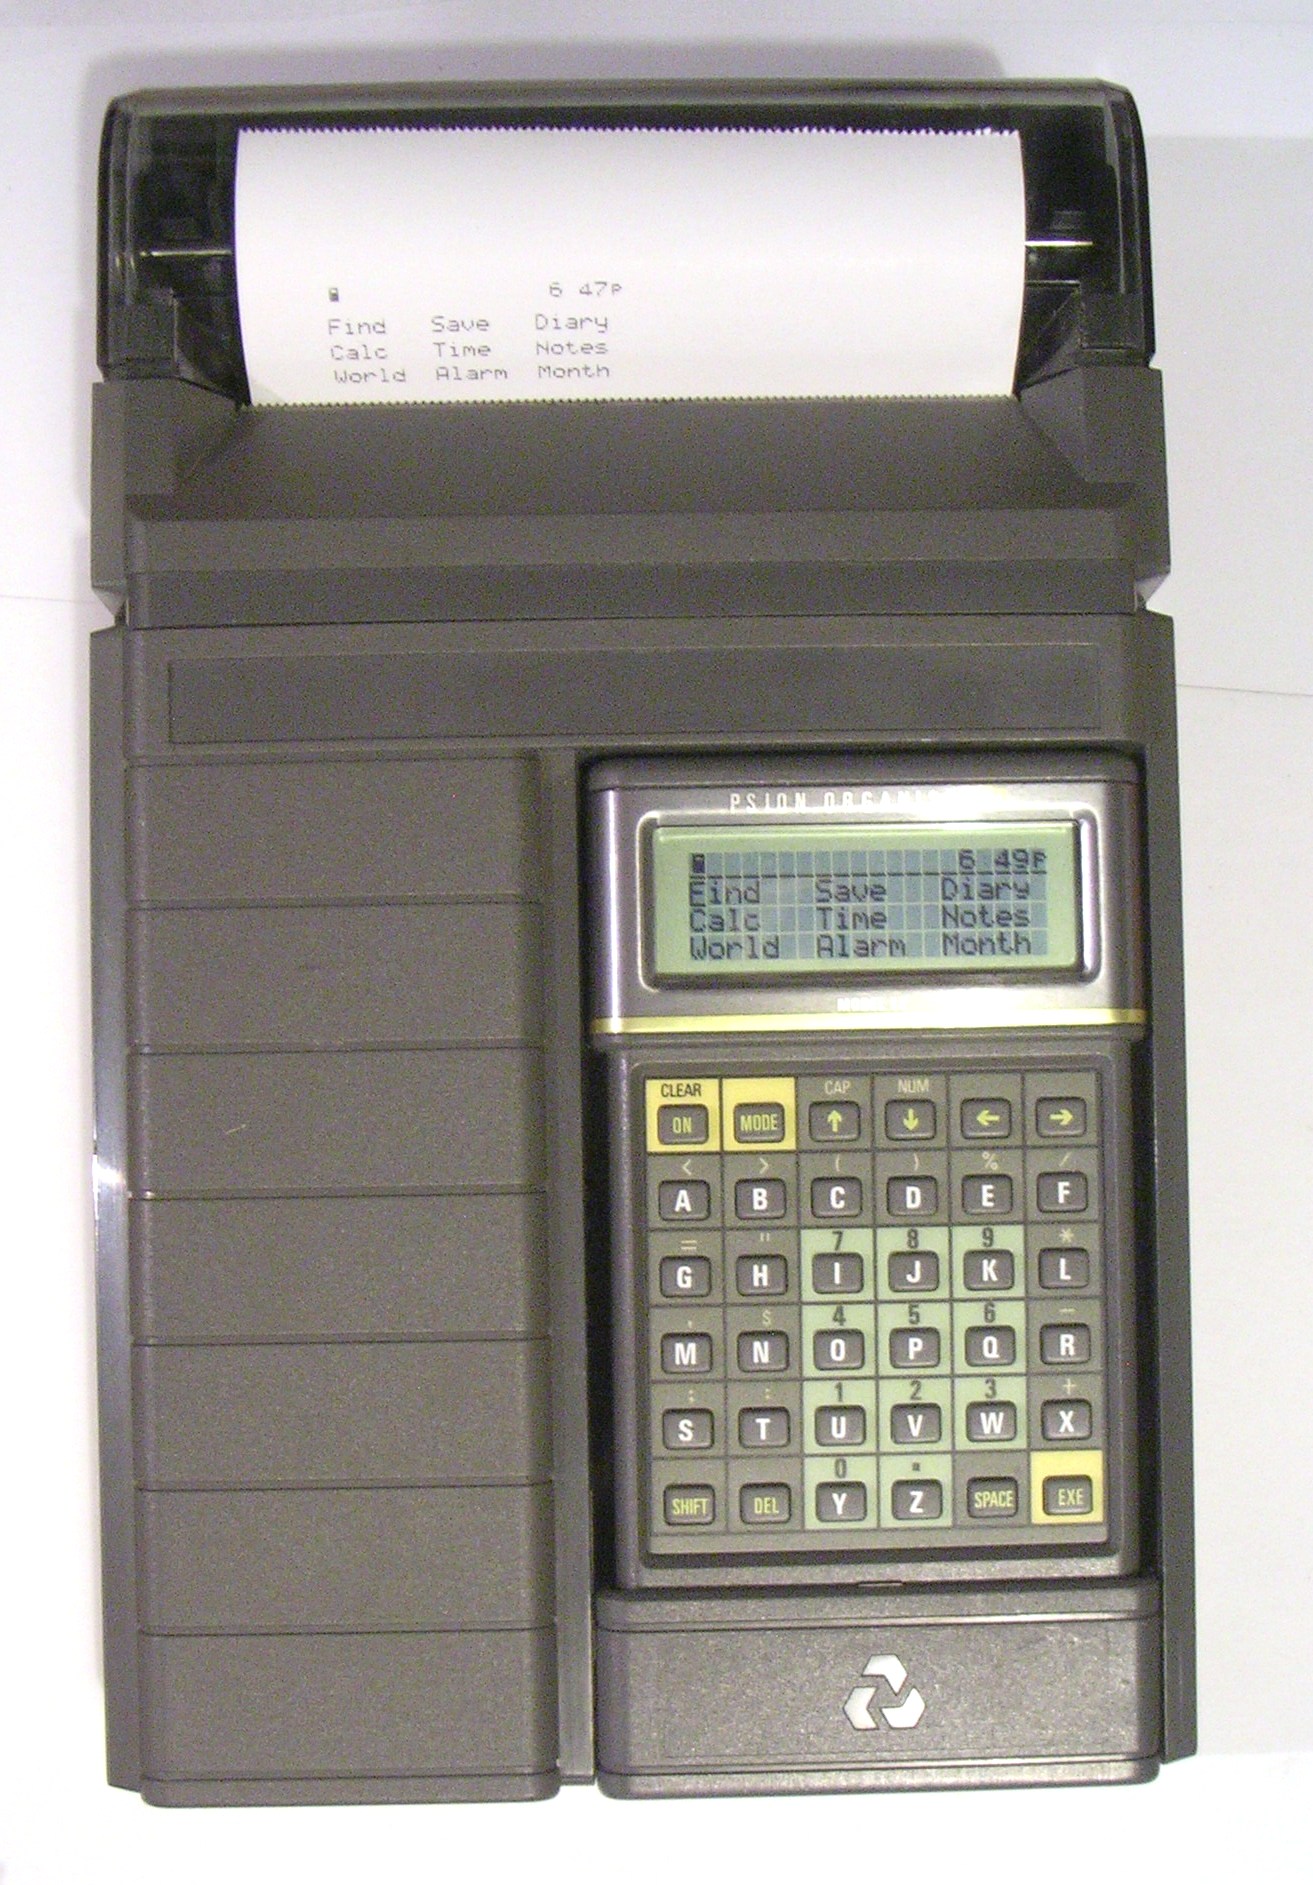
The Psion Printer has a fascinating design. The organiser fits snugly inside it, so that it becomes a single unit. To use it you have to insert the organiser (without its cover) into the printers hinged base, lay the organiser flat into the recess and then push it upwards until it slots home.
This design leaves a few things to be desired. The main drawback is that you now don't have immediate access to the underside of the organiser, so that changing packs and even changing the contrast is awkward.
The printer contains a large and heavy rechargeable battery. It is a powerful battery, capable of running an organiser even if that has no battery itself. On the left side of the printer there is a little socket for a mains adaptor. The printer was originally supplied with such an adaptor which supplies 600mA at 10.4V.
Also on the left side there is a port exactly like the top slot of the organiser. It allows you to connect a comms link to the organiser even when the printer is attached. See the XPRINT%: function later to see how this combination can work.
At the top is the printer itself. It is a thermal printer, so it needs special paper to work. It uses a roll of white thermal paper of up to 110mm wide, and this is placed on a spindle behind a transparent grey plastic cover. There is a serrated metal edge for tearing off the paper you have printed.
Some printers have a magnetic card reader built in. These have a slot running from left to right halfway between the organiser and the metal tearing edge.
Only do this when you have an organiser inserted into the printer.
To make a copy of the screen contents, press Shift-LeftArrow. The Psion Printer will then print out the screen. When it is finished press Shift-Space to scroll the paper upwards, or just pull the paper up by hand, and then tear the paper off. If the screen is showing a record, then the whole record will be printed, not just the screen contents (This is true for organiser versions 3.3 and later, but it is possibly not true on earlier organisers). The same holds when a screen dump is made while viewing a scrolling string, or while editing a string longer than the screen (e.g. during the OPL commands INPUT, EDIT, VIEW or DISP though not during MENU)
To print out a procedure, simply choose the LIST (or PRINT) option of the PROG menu. The Psion Printer will then print out the procedure.
On two line machines these are the only ways to print without writing programs for this purpose. The LZ has further options. The Diary/Month menu has a Print option which allows you to print all the diary entries from any given date. Similarly, the Notepad and Xfiles menus have Print options as well.
The printer normally uses lines containing 40 characters.
There are two commands and one function that control the printer.
This sends text to the printer. It is used in exactly the same way as the normal print command. For example:
| LPRINT "Hello world" | Prints out 'Hello world' |
| LPRINT 1,2;3.456 | Prints out '1 23.456' |
Note that an LPRINT statement ending in a semicolon or comma will not be printed immediately. The printer holds the text in the printer buffer until it is clear that there will not be any more text on the line, i.e. until the line is full or until an LPRINT statement without a comma or semicolon is executed.
The character set that the printer uses is the same as that of the LZ/LZ64 model organiser, regardless of which type of organiser is actually inserted into the printer.
The control characters have the following effects:
| Char. Code | Effect |
|---|---|
| 0-7 | The UDG's are printed out as normal |
| 8 | No effect? |
| 9 | Moves to the next tab position (Middle of line, or start of next line) |
| 10 | No effect? |
| 11 | Space |
| 12 | Form Feed, moves paper up 3 lines. |
| 13 | Carriage return. Prints current line and moves to the start of the next |
| 14 | Double width mode (20 chars) |
| 15 | Normal width mode (40 chars) |
| 16 | Space |
| 17 | Start double height mode |
| 18 | End double height mode |
| 19 | No effect? |
| 20 | No effect? |
| 21 | Start underline mode |
| 22 | Very narrow mode (80 chars) |
| 23 | Narrow mode (60 chars) |
| 24 | End underline mode |
| 25-31 | No effect? |
Characters 8, 10, 19, 20 and 25-31 seem to have no effect and to be simply ignored. If you know otherwise, let us know so that we can update this page.
This is used for printing graphics. It is used in the following way:
GPRINT:(L%,A%)
where L% is the length of the data, and A% is the address of the data. Each byte of the graphical data contains the eight pixels of one vertical line, and 256 such lines fit on the width of the paper regardless of whether the printer is in 20, 40, 60, or 80 column mode. A string variable can be up to 255 bytes long, so these are normally used for storing the graphical data. For example:
A$=REPT$(CHR$(136)+CHR$(68)+CHR$(34)+CHR$(17),63) GPRINT:(252,ADDR(A$)+1) GPRINT:(252,ADDR(A$)+1)
Here A$ is a string variable of length 252 containing a nice graphical pattern of diagonal lines. The address ADDR(A$) contains the length byte of A$, and the contents of A$ are stored immediately after that in memory, at address ADDR(A$)+1. If you need the full 256 bytes you can poke over the length byte, or use another area in memory to store the data in (for example the runtime buffer, $2188-$2287).
The code of each character in the string encodes the eight pixels of vertical line in the following way:
The top pixel has value 128
The second pixel has value 64
The third pixel has value 32
The fourth pixel has value 16
The fifth pixel has value 8
The sixth pixel has value 4
The seventh pixel has value 2
The last pixel has value 1
Add the values of those pixels that are to be black, and that is the value of the byte to use.
For example to print the following shape:
.XXXX X.... .XXX. X...X .XXX. ....X XXXX. .....
the graphical data is 82 (=64+16+2), 170 (=128+32+8+2), 170, 170, 148 (=128+16+4), and so
A$=CHR$(82)+CHR$(170)+CHR$(170)+CHR$(170)+CHR$(148) GPRINT:(5,ADDR(A$)+1)
will draw the shape.
Note that the printer buffer is cleared before the GPRINT is performed, so any characters that have been LPRINTed but have not yet appeared on paper will be lost. For example
LPRINT "test"; GPRINT:(5,ADDR(A$)+1)
Here 'test' is not printed out because of the semicolon. Clearly, if you just want to use a single small pattern like the one above it is probably easier to use UDG's so that it can be printed on the same line as normal text.
Ordinary text printing in 40 column mode using LPRINT will print out the text using 240 pixels along the line, 5 pixels for the character and 1 pixel of space between them. The 16 extra pixels that GPRINT: has available are on the right hand margin of the paper.
This function switches the printer on or off, and returns the previous status. For example:
XPRINT%:(0)
disables all printing. The printer will no longer accept the LPRINT and GPRINT: commands, and a 'DEVICE MISSING' or 'MISSING PROC' error will usually occur if you try to use them. The command
XPRINT%:(1)
will re-enable the printing. If you use it as a function, e.g.
A%=XPRINT%:(1)
then A% will contain 0 or 1, depending on the previous status. Thus the lines
A%=XPRINT%:(1) XPRINT%:(A%)
will return the printer status in A%, but not change it. Note that the function does not affect the printer buffer.
This function is especially useful if you use the printer in combination with a comms link. If the printer is disabled, the LPRINT command will now be accepted by the comms link instead, allowing you to transmit data that way. For example:
XPRINT%:(0) LPRINT "This goes down the Comms Link" XPRINT%:(1) LPRINT "This goes to the Psion Printer"
To check whether the Psion printer is present, you can check whether bit 0 of the system variable $2177 is set. For example:
IF PEEKB($2177) AND 1 PRINT "Psion Printer present" ELSE PRINT "Psion Printer not present" ENDIF
Alternatively you can check whether XPRINT%: gives an error.
Some printers also have a magnetic card reader built in. Even if the swipe reader is not physically present, the printer does still have the commands for the reader available. When you open the printer, there is a small plug inside with 5 pins which is where the card reader is connected, and the slot for the cards can be opened by removing the plastic cover that is wedged inside. At the moment I don't know which pin is which.
The function XSWIPE%: works in exactly the same way as XPRINT%:, except that it disables the card reader instead. See XPRINT%: for more information. The card reader is switched off by default, so use XSWIPE%:(1) before trying the SWIPE$ function below.
The function SWIPE$: works in a similar way to the barcode function BAR$:. The function takes two or three integer arguments, i.e. SWIPE$:(A1%,A2%) or SWIPE$:(A1%,A2%,A3%).
The first argument (A1%) controls the direction of the swipe. A value of 1 means that the card can be swiped in a forward direction only, 2 means backwards only, and 3 means it can be in either direction.
The second argument (A2%) controls the behaviour of the organiser. A value of 0 means the organiser will wait indefinitely until a good card read is made. A value of -1 will allow this wait to be interrupted by a keypress. When the argument is positive, the organiser will wait that number of twentieths of a second for a good card read. If you use a negative argument then it will also stop waiting when a key is pressed.
In other words:
>0 Wait for good read or this number of twentieths of a second.
=0 Wait until good read made.
=-1 Wait for good read or key press.
<-1 Wait for good read, key press, or this (positive) number of twentieths of a second.
The third optional argument (A3%) indicates the type of card that is read. If the argument is 1 then the card data is allowed to have all hexadecimal digits, i.e. the numbers 0 to 9, and the letters A to F. If the argument is omitted or 0, it indicates that the card can contain only numerical digits 0-9, as well as the a separator indicated by the letter 'F' (which is actually stored on the card as 'D'). If the card contains any of the other letters, then the card will be rejected.
The data on the card is returned by this function as a string. The direction in which the card was swiped can be found in the system variable $E0, so PEEKB($E0) is 1 or 2 for forwards and backwards respectively.
Psion had to do some fairly clever and quite complicated programming to make to printer work the way it does. There are two separate issues here that are interesting to the serious programmer; the screendump option, and the use of the comms link in combination with the printer.
Firstly, the screen dump option. There are several issues here. Psion had to redirect the Keyboard Translation routine (see the system variable bta_tran at $205C) in order to detect the Shift-Left key for printing the screen and the Shift-Space key for performing a form feed. This is what I used myself when I wrote the Keys utility.
Furthermore, the printer has to know when there is information to be printed that is not on screen, for example when looking at a record. This means that the system services for the viewing and editing of such information had to be noted, and so the printer intercepts the services DP$VIEW, DP$PVEW, ED$VIEW and notes what information they are using. This is done by building a copy of the table of system services and changing the addresses of these (See system variable bta_vect at $23E7). Every time one of the services is called, for example when viewing a record or when the OPL commands EDIT, INPUT, VIEW or DISP are used, the printer software is called first to note the data. On older organisers, the rom routines were called directly rather than go through a software interrupt so these machines will not show the extra information if they work at all.
The keyboard services KB$TEST and KB$GETK are also intercepted. If a screen dump or a line feed is in progress then these will not return a key, so if the printer is busy the OPL function GET (and GET$) will wait until the printer is ready.
The other interesting programming involves the comms link. The organiser normally only tests each slot for one device. If a device is found at a slot it loads the software, runs its installation routine, and then moves on to the following slot. When the printer software is loaded, and its installation routine is run, this routine in turn checks for any further devices in the 'top slot' at the side of the printer. If there is one, e.g. a comms link, then the printer software will install the comms link device code into the organiser memory.
In order for the organiser to work properly with a second top slot device, the printer has to seemingly hide itself, so that any top slot access not directed through the printer software should go to the second device. The PK$SETP service is rerouted to detect any attempt to read the top slot. For example, consider following OPL snippet:
OPEN "D:MAIN",A,A$ PRINT SPACE CLOSE
This will work if the organiser has just been inserted into the printer but the printer software has not yet been booted by pressing ON/Clear at the main menu. When the printer software is installed, this will give a 'NO PACK' error provided there is no comms link attached to the printer. If there is a comms link, then the program will work again, but give the result for the comms link rather than the printer.
The service PK$PKOF is intercepted to make sure the packs and therefore the top slot is not powered down until the printer is ready. Finally, the DV$BOOT service is also changed slightly.