- Home /
- Psion II /
- Repairing the Printer
Repairing the Psion Printer II
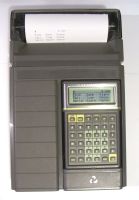
Click on this image to see a larger picture
The Psion Printer II has a particular weakness in its design that often causes them to fail, especially
after a few years of non-use. Here I will describe how to fix that.
For other information on the
Psion Printer, see:
Psion Printer II Manual (1988)
Psion Printer II Manual (1989+)
Notes on the Psion Printer II
Symptoms
When the printer is turned on, the printer's electric motor starts up and moves the
printer head to the right hand side, or if the head is already on the right, nothing
seems to happen. After a few seconds the motor stops. The same behaviour occurs every
time you try to print something, but when the motor stops an error message appears.
Cause
The printer contains a little contact switch that detects when the printer head is
at the left hand side of the paper. When the head is moved to the right, this switch is
released, and an electrical contact should be made. The normal resting position of the
printer head is at the left, so when not in use the spring in the switch is under tension.
If the printer is not used for a time, the switch spring can become weaker, and the
contacts can become slightly oxidised. When the printer head is then moved to the right,
the switch fails to close an electrical circuit. The firmware assumes this means that
the electric motor failed to move the head to the right and raises an error.
How to repair it
If your printer has this problem, then you can fix it fairly easily. All you need is a Phillips screwdriver,
and to follow the steps below. You can click on each picture to see a larger version.
- If there is an Organiser present in your printer, remove it. Click the hinged base that held the
Organiser back into place.
- Remove the transparent cover over the paper roll, and remove the roll of paper. This is best done
by tearing/cutting the roll free, and then pulling the paper remnant out in the normal direction that
the paper is fed through the mechanism. Trying to pull the paper out in the reverse direction may
cause damage.
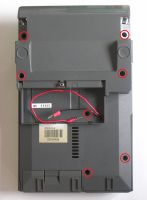
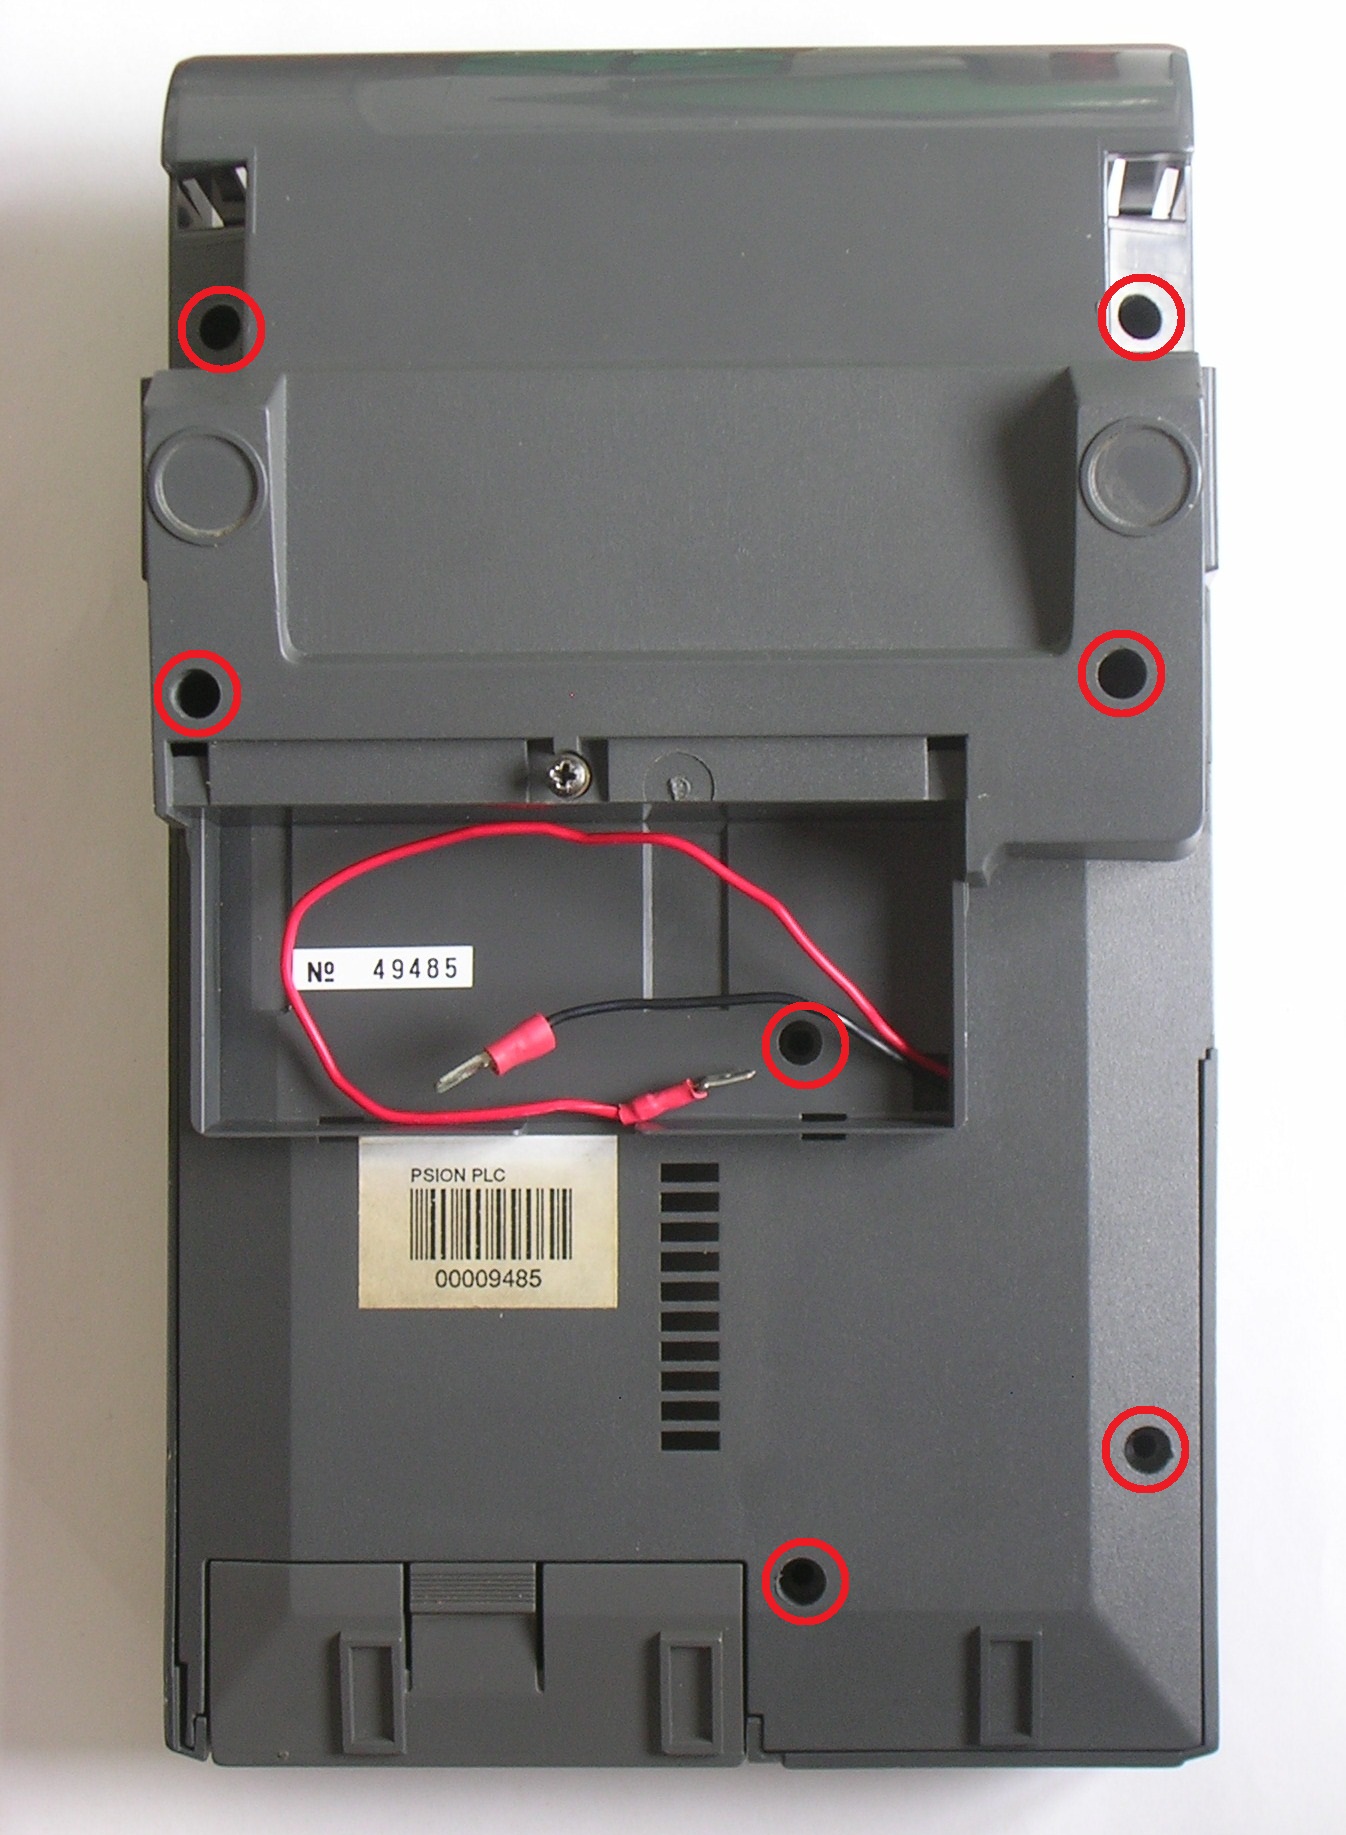
- Turn over the printer and remove the battery cover, and the battery if your printer still has one.
- Remove the 7 screws from the bottom of the printer. Don't forget the one inside the battery compartment.
See the picture on the right in which the screw holes are marked.
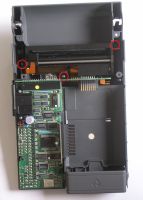
- Turn the printer over again, and remove the top half of the casing.
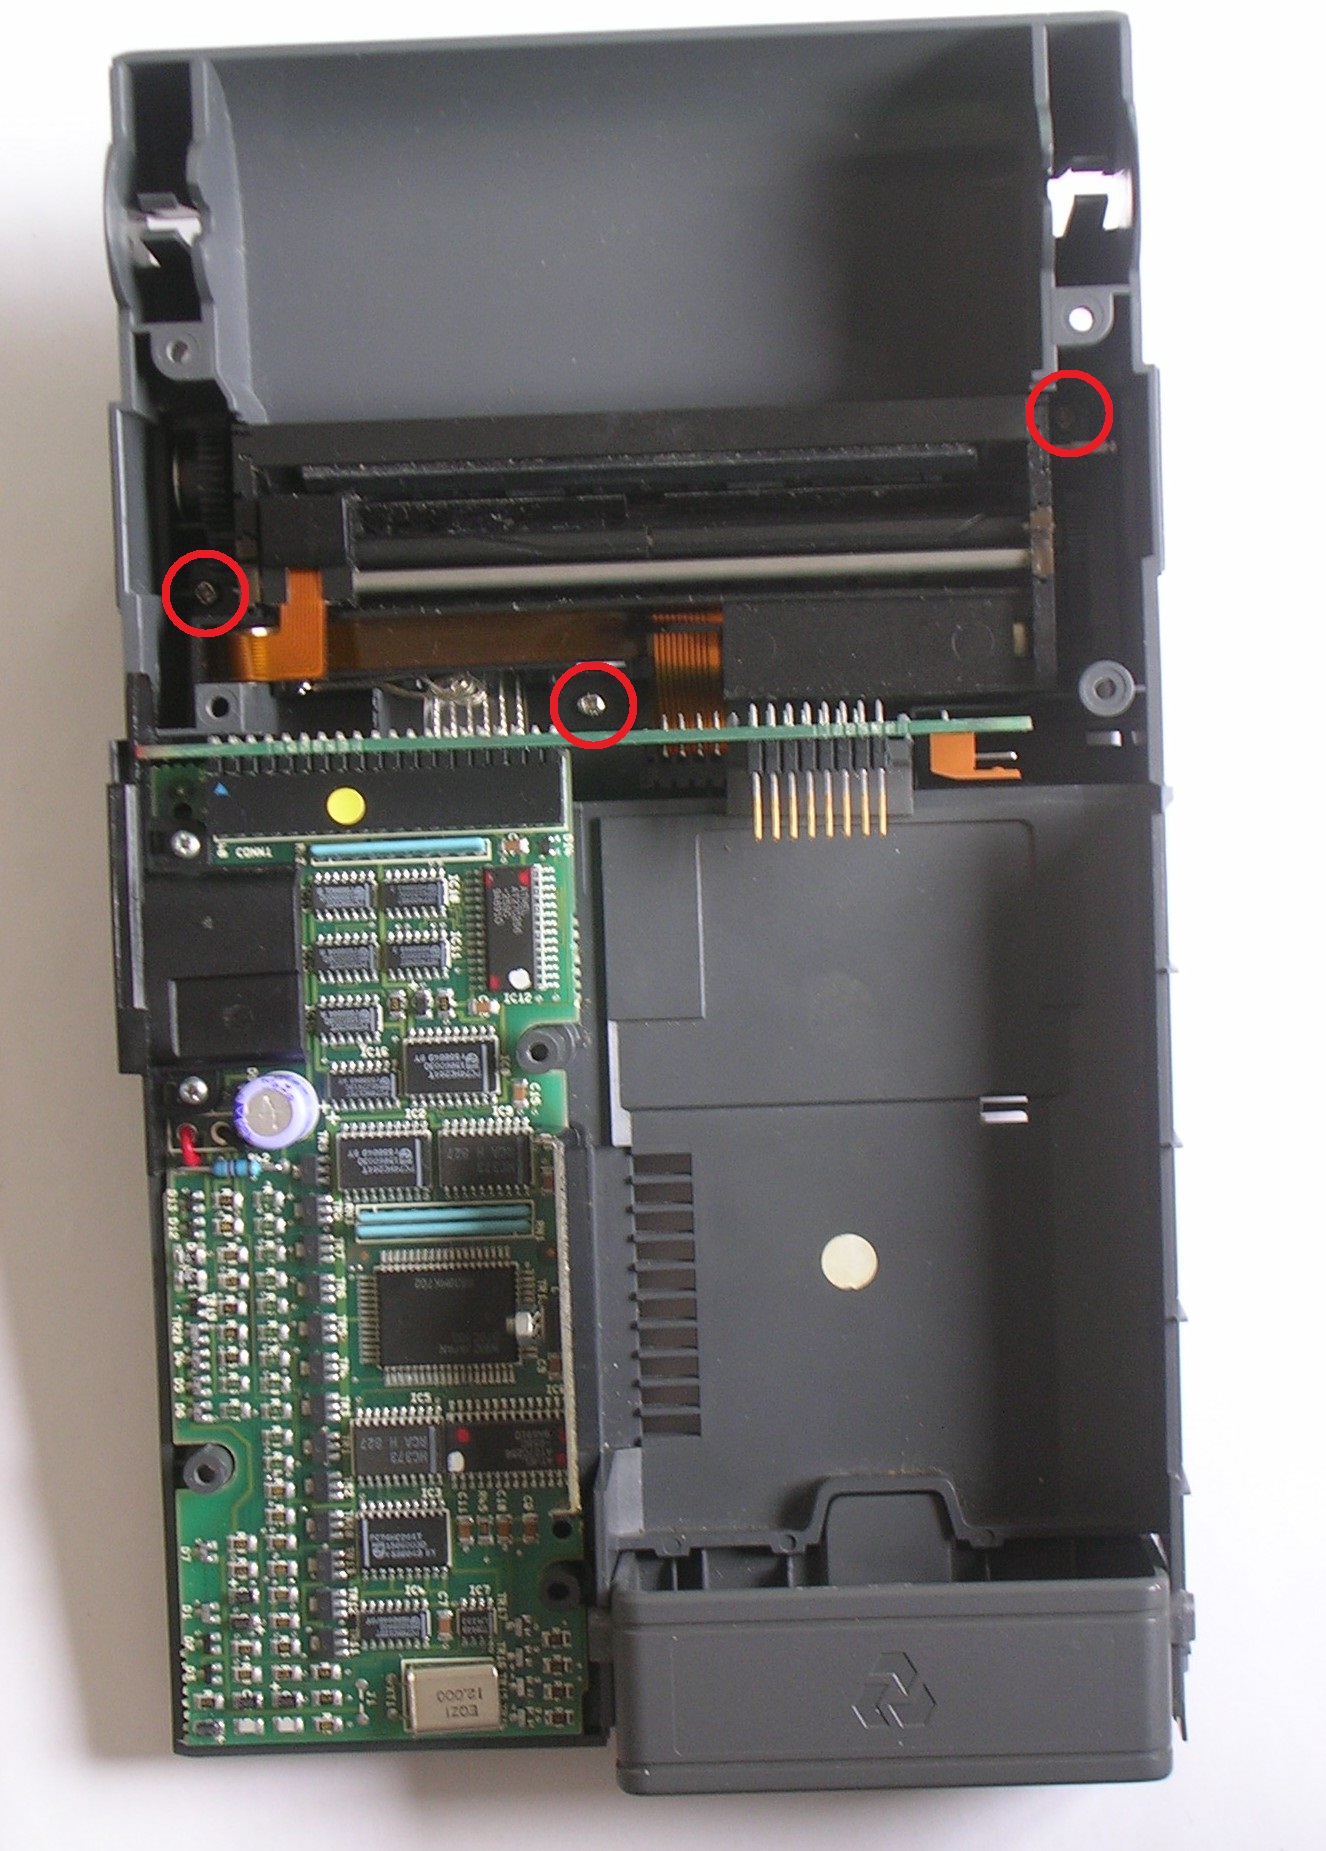
- Remove the 3 small screws that attach the printer mechanism to the bottom of the case (but not the two screws at the left port).
See the picture on the right in which the screws are marked.
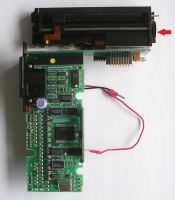
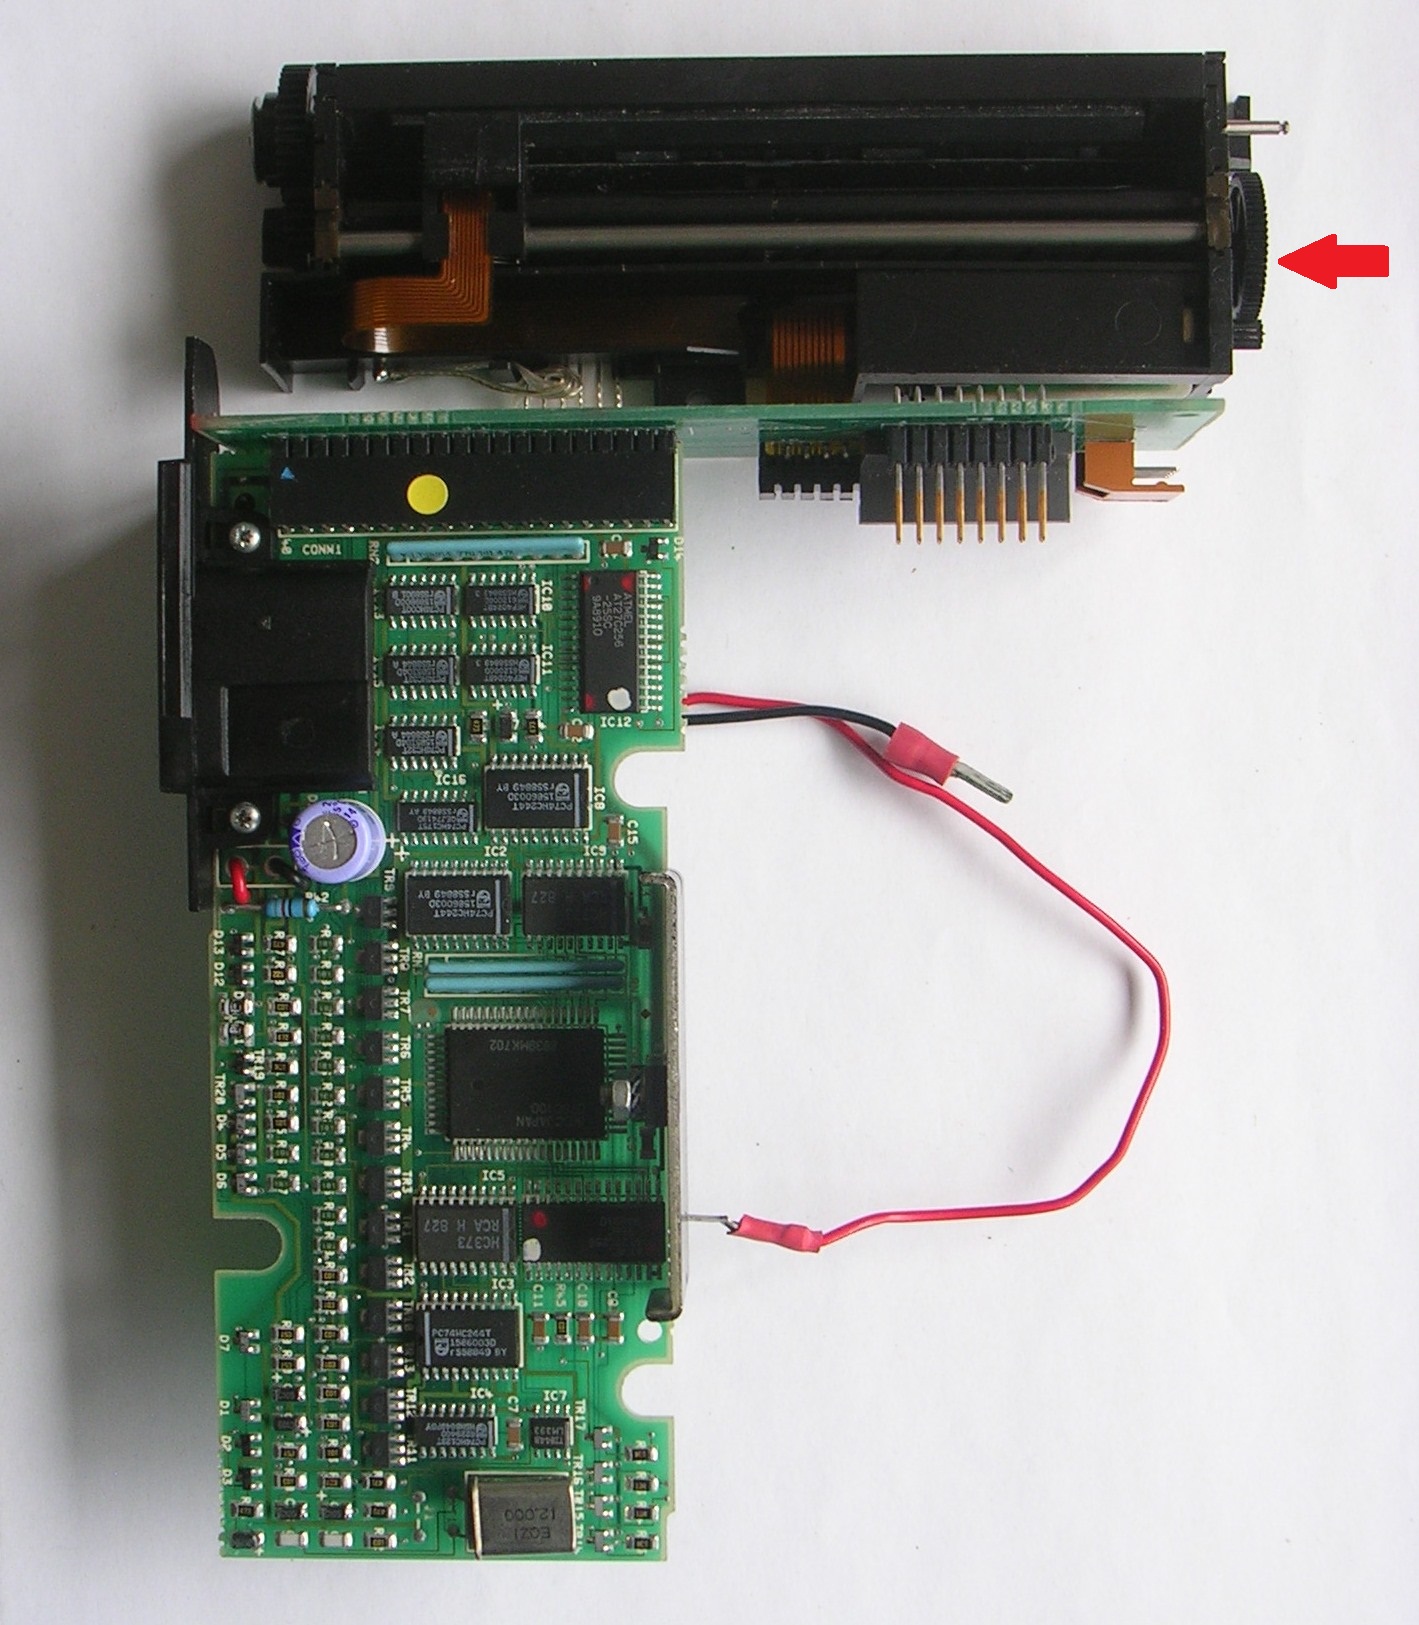
- Carefully lift out all the insides, both printer mechanism and circuit boards together. You will have to tilt the
upright circuit board slightly, because the power socket catches in the casing. The battery leads and contacts should
be able to pass through their hole in the casing.
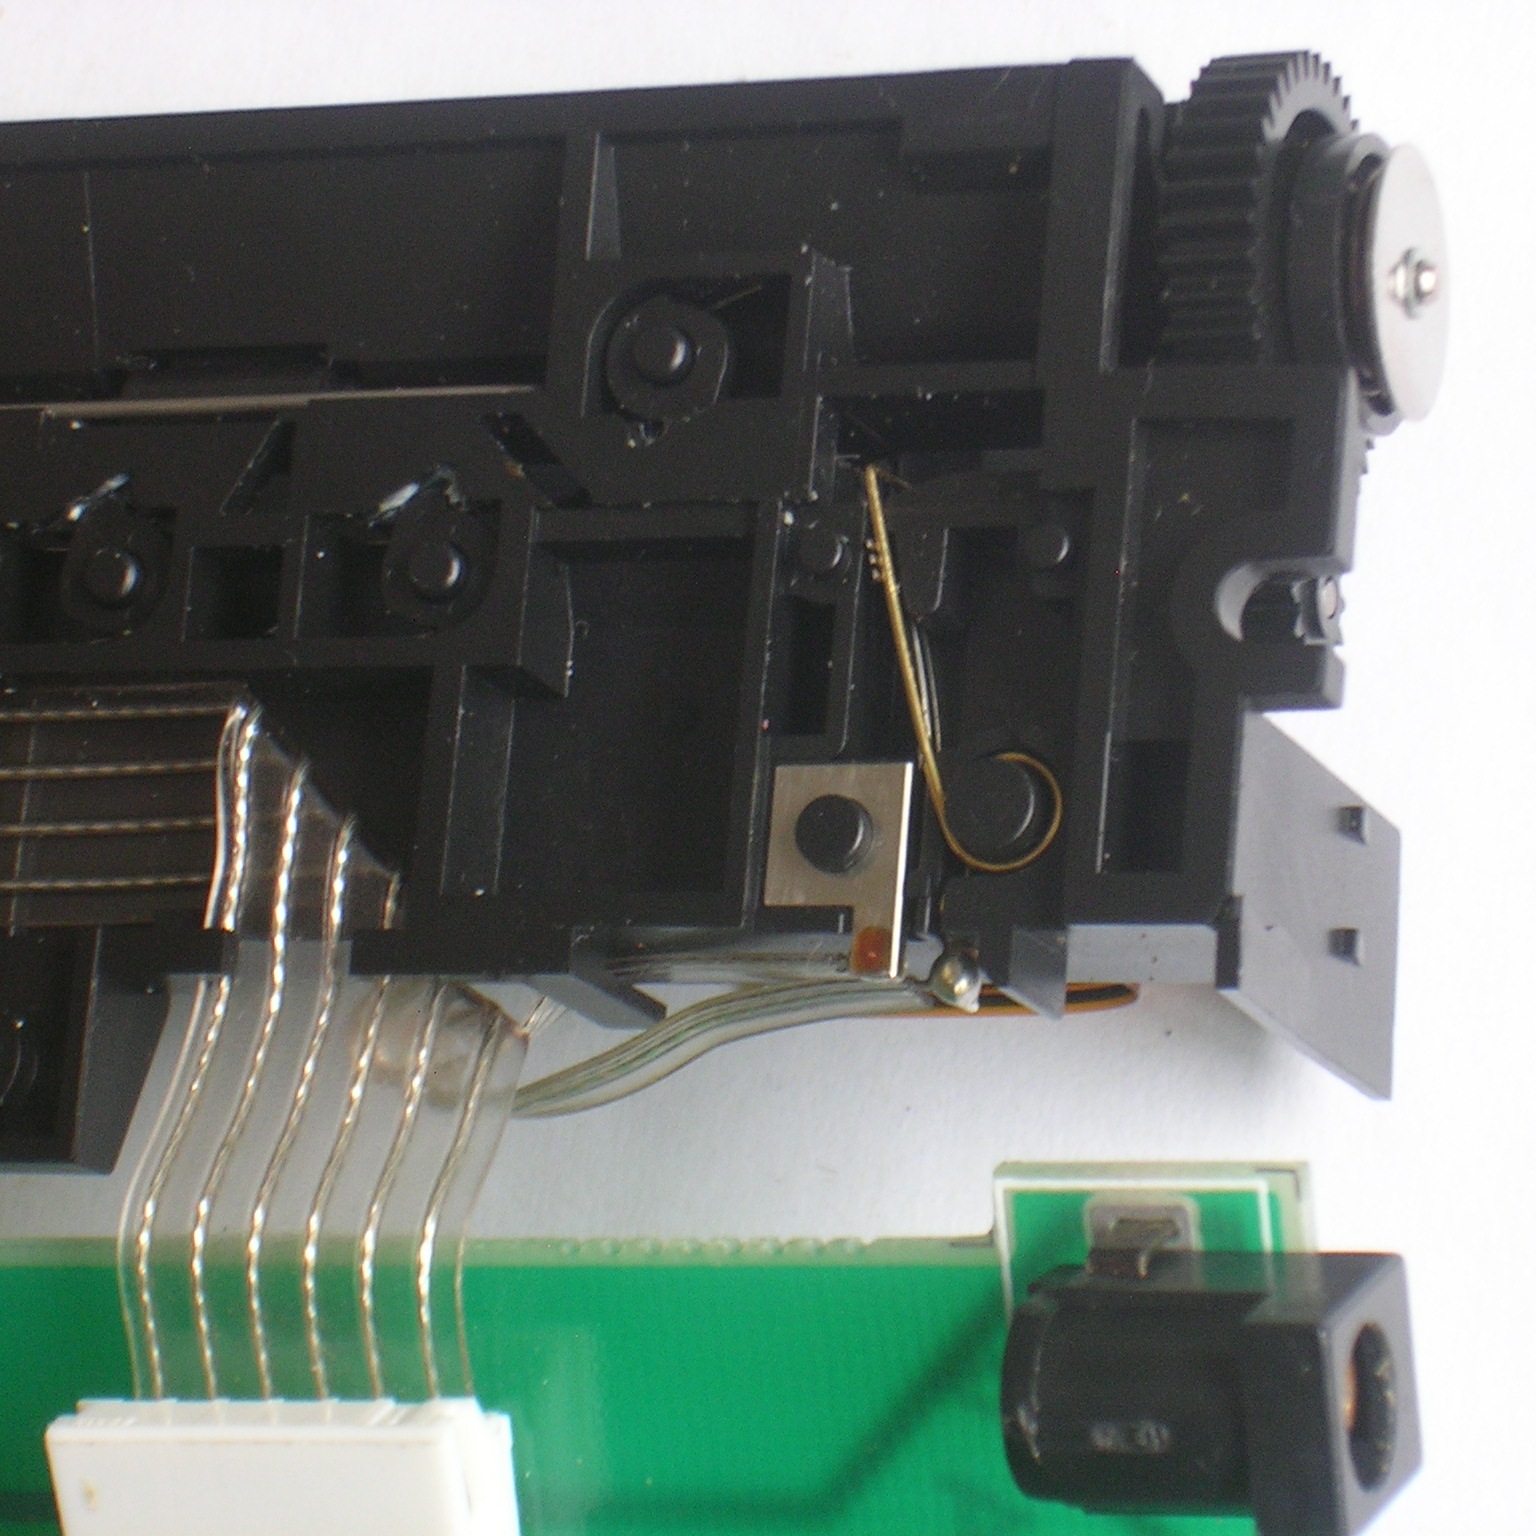
- If the printer head is at the left, move it over to the right by about an inch by turning the gears at the right hand side.
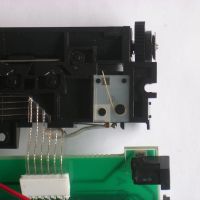
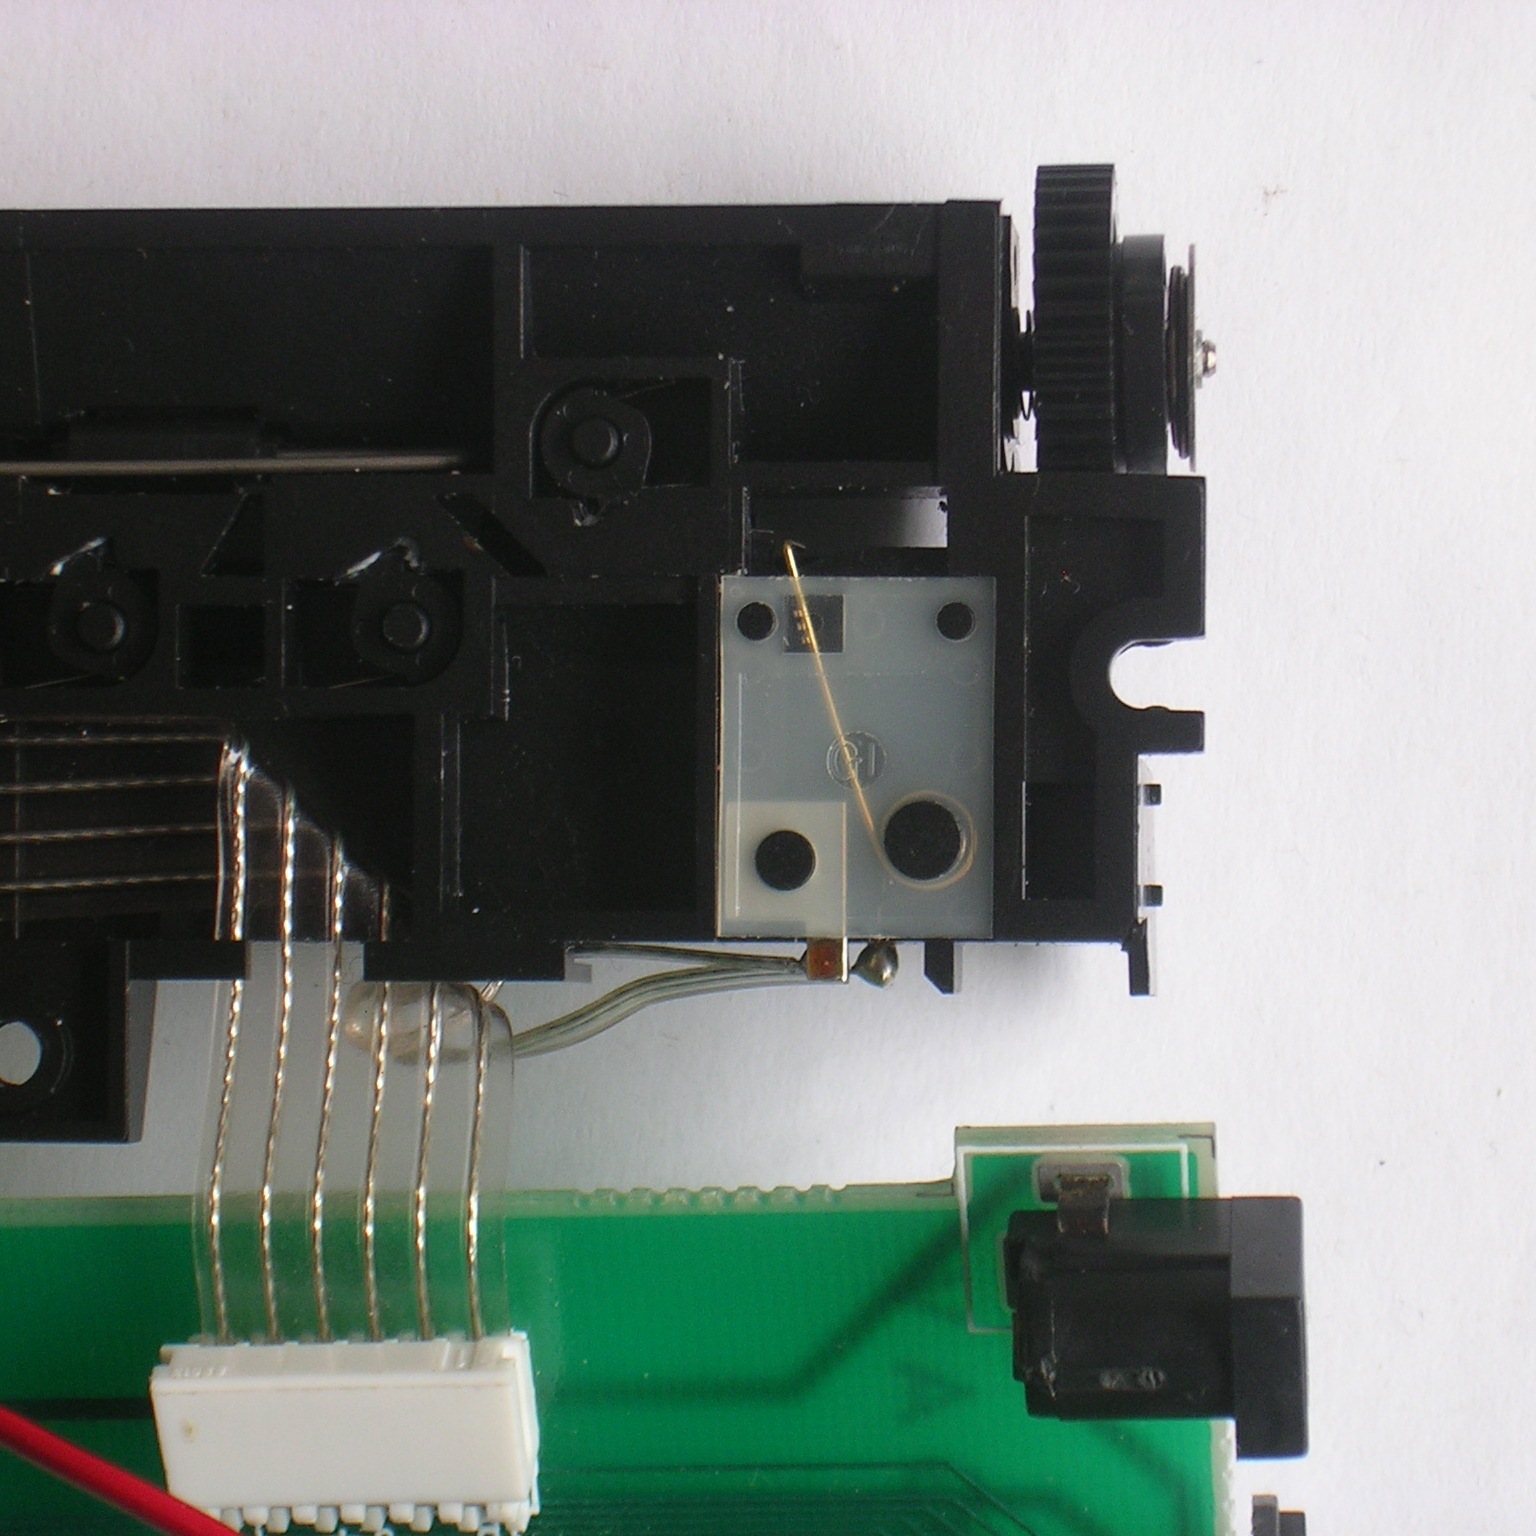
- Turn everything over, and on the right (previously left) you see the switch underneath a small transparent plastic cover.

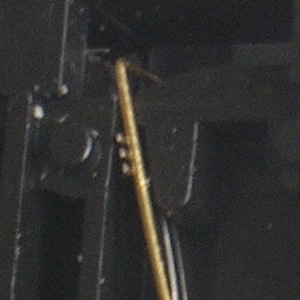
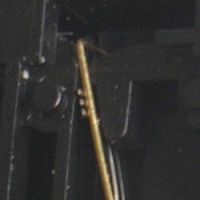
- Pop off the small transparent plastic cover. You can now see a coil spring of which one end forms a rod that ought to
touch a small metal contact.

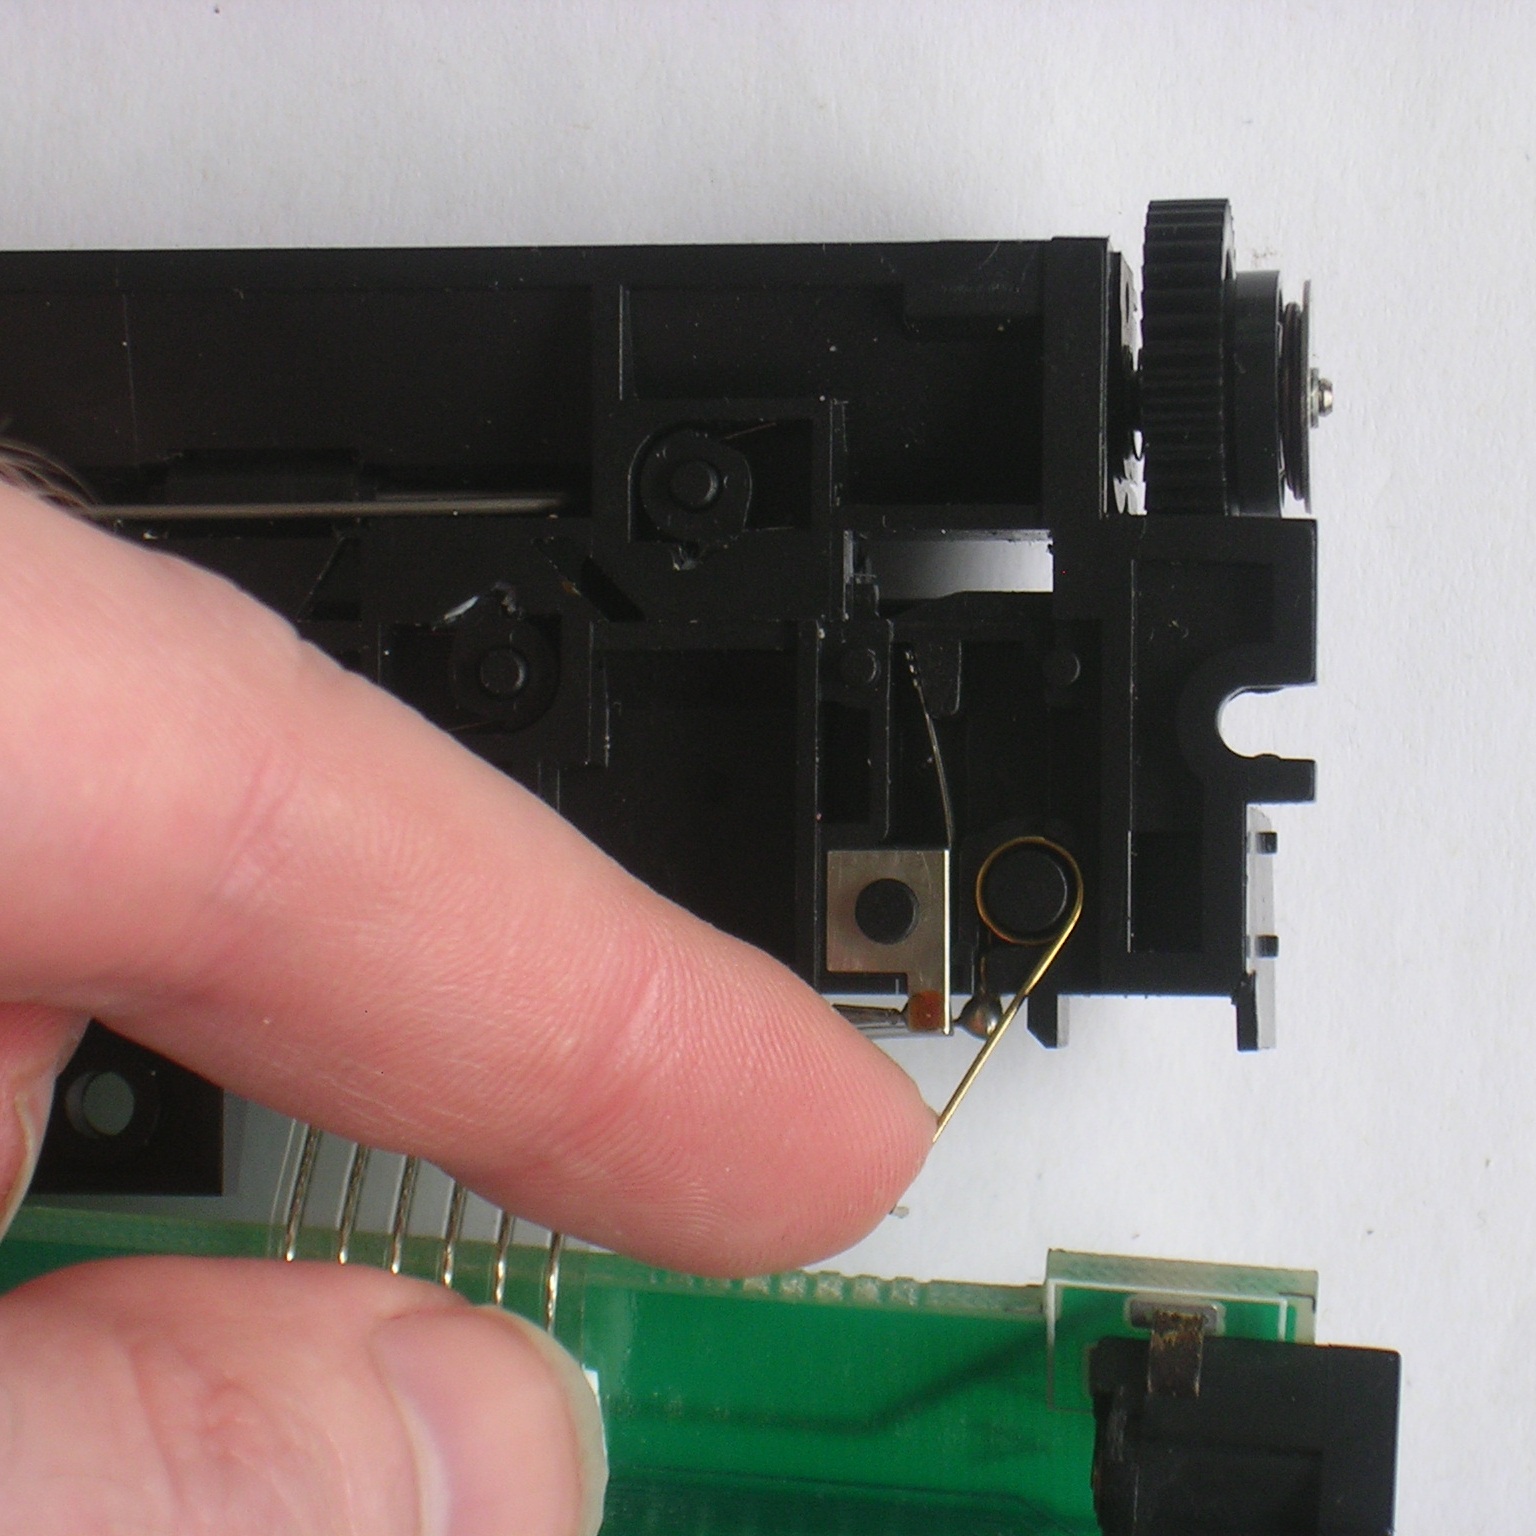
- You can pull up the outer end of the spring switch rod, and bend it around to strengthen its tension.
- Put the spring rod back into place, making sure it is on the right side of the feather contacts.
- Now you will put everything back together, in the reverse of steps 10 to 1, so first replace the transparent switch cover.
- Turn everything over, and carefully place the mechanism and circuit boards back into the bottom half of the casing. You
will first have to thread the battery leads through the hole to the battery compartment.
- Put in and tighten the three small screws that attach the printer mechanism to the bottom casing.
- Replace the top half of the casing. If the hinged base that normally holds the Organiser came loose
from the casing, you should put it in place first.
- Turn everything over, and re-insert and tighten the 7 screws in the base.
- Replace the battery (if you have one) and the battery cover.