

This amazing puzzle consists of a number of tiles arranged in a rectangle. They are connected to each other by wires that run in diagonal grooves on the tiles alternatively under and over them. If two of the tiles lie on top of each other, the wires allow them to be unfolded in two perpendicular directions provided connections to the other tiles do not restrict the movements. The kind of wire arrangement can also be found in certain wallets which can be opened in two different directions because of the ribbons connecting the two halves.
In the rectangular starting position the front of the tiles show a complete picture. The other side however shows a mixed up picture. The aim is of course to rearrange the tiles to unscramble this second picture. In most versions of Rubik's Magic the solved shape is not rectangular.
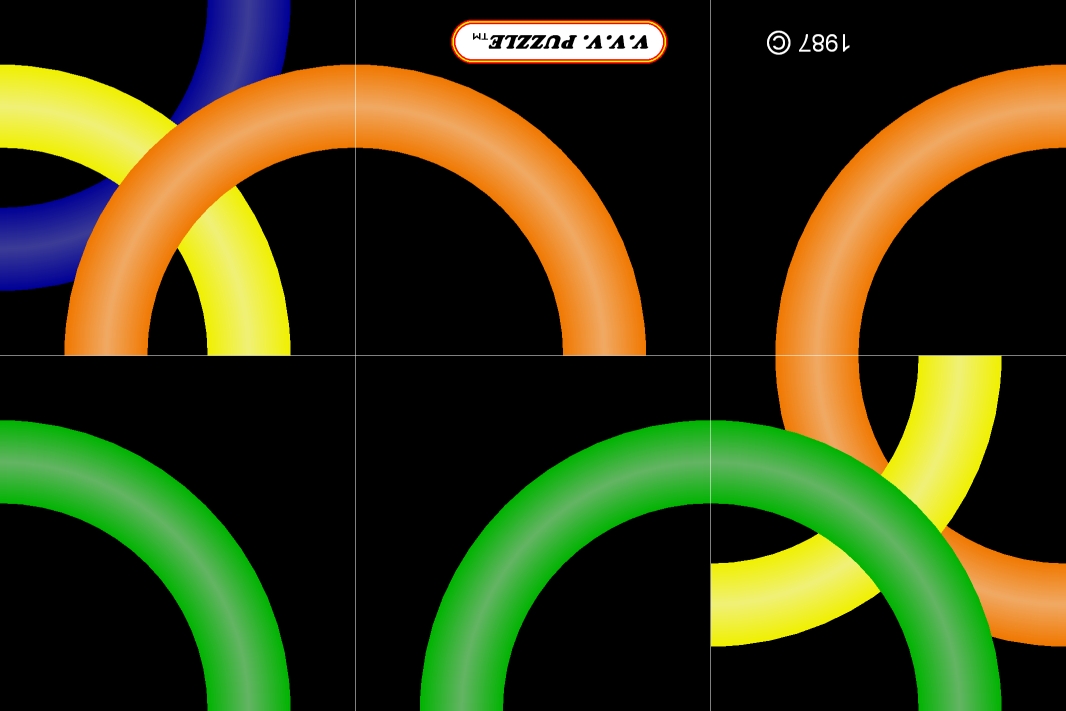
Ernő Rubik was granted a US patent on 11 August 1987 (US 4,685,680), but there is an earlier Hungarian patent (19 Mar 1985, HU 1211/85).
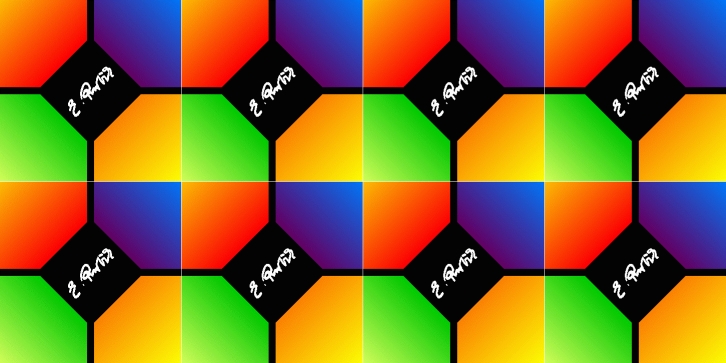
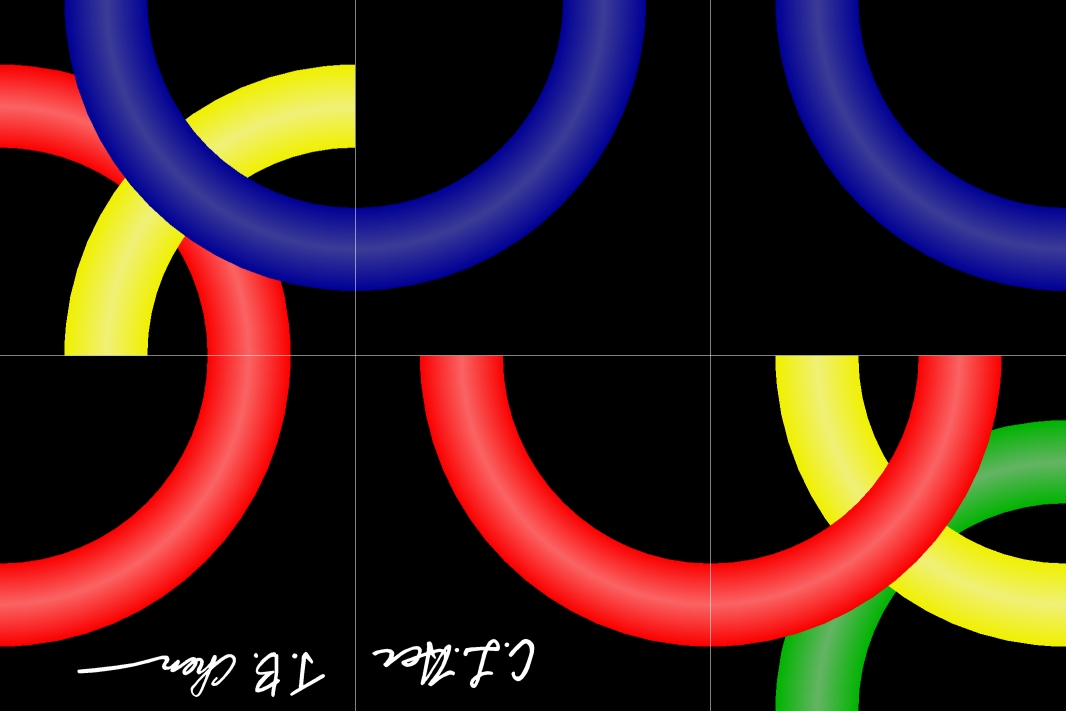
 The original version of Rubik's Magic is a black 2×4 rectangle with rainbow
coloured rings, and was made by Matchbox in 1986. It has recently been
released again, this time manufactured by Oddzon, but now it is red with yellow rings.
The original version of Rubik's Magic is a black 2×4 rectangle with rainbow
coloured rings, and was made by Matchbox in 1986. It has recently been
released again, this time manufactured by Oddzon, but now it is red with yellow rings.
 In 1987 Matchbox made several other versions. There were for example Mini Magics
that are 2×2 squares of tiles. These are quite rare.
In 1987 Matchbox made several other versions. There were for example Mini Magics
that are 2×2 squares of tiles. These are quite rare.
 Another fairly rare 1987 version of Rubik's Magic was 'Create the Cube',
which had 8 differently coloured tiles, and the aim was to make the cube shape so that
the colours matched.
Another fairly rare 1987 version of Rubik's Magic was 'Create the Cube',
which had 8 differently coloured tiles, and the aim was to make the cube shape so that
the colours matched.
 There was also the Master Edition which has 2×6 silver
coloured tiles and has 5 rings on each side and, unlike the the normal magic, the rings
must be unlinked.
There was also the Master Edition which has 2×6 silver
coloured tiles and has 5 rings on each side and, unlike the the normal magic, the rings
must be unlinked.
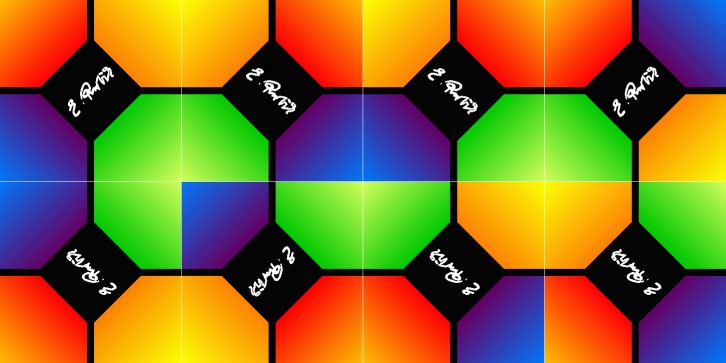
 Unofficial versions of the Magic were made too, such as the Magic Rings
which is a 2×6 magic and its solved position is on the shape of a cross.
Unofficial versions of the Magic were made too, such as the Magic Rings
which is a 2×6 magic and its solved position is on the shape of a cross.
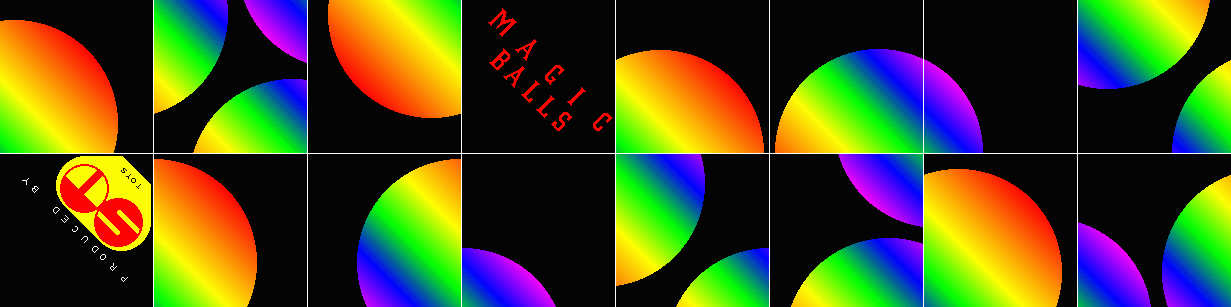
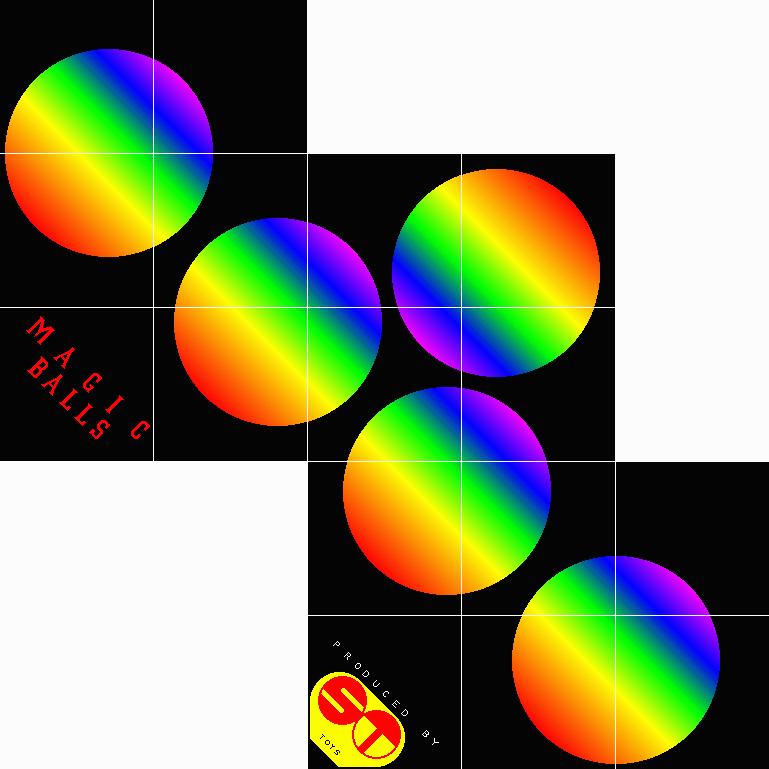
 A Polish version called the Magic Balls is 2×8 and
has smaller tiles than the official Magics.
A Polish version called the Magic Balls is 2×8 and
has smaller tiles than the official Magics.
Each tile is connected to exactly two others. For the moment lets just consider two connected tiles in isolation. Fold one on top of the other. There will now always be two ways the top one can be unfolded; either back the same way, or in a direction perpendicular to that. Which way this second folding direction goes depends on the wires, but it will always be at 90 degrees with the first folding direction. Of course the folding may not be possible due to the constraints imposed by the other tiles of the puzzle. Suppose that you have two tiles on top of one another, and that the top tile could folds downwards or rightwards. If you manage to fold the top tile downwards and swing it underneath the other tile, then it will now fold leftwards instead. This is always true; if a tile is folded around, its other folding direction changes to the opposite direction.
There are obviously an infinite number of three dimensional shapes, but the number of flat patterns is limited. First you must realise that the tiles always remain in the same order around the loop. If you number them 1-to-2n going clockwise around the rectangle in the starting position, then every other position will also have them in 1-to-2n order, starting from wherever tile 1 is, and going either clockwise or anti-clockwise around the rectangle. From the transforms it is clear that in a 2×n rectangle:
This leaves 2·n·4·2 = 16n possibilities.
However the rectangle can be rotated 180 degrees, and those positions have been counted
as different. Therefore there are only 8×n different possible rectangles.
The same argument applies to any flat shape, so any non-symmetric flat shape has 16n
possible patterns, and flat shapes with rotational symmetry only 8n (or even 4n if it
has 90 degree rotational symmetry). In a later section on this page we will enumerate
which flat shapes can actually be achieved on the normal and Master
magics.
Once you have a rectangle shape, the three main transforms can always get the puzzle back to its starting position. There is a fairly simply way to do this:
Here is a neat diagram showing how the rectangle configurations are related to each other by the three transforms.

In the procedure above, step a makes sure that arrangement is not one of those in rows 5 or 6 in the diagram, step b2 eliminates rows 4 and 7, and then b3 rows 3 and 6. Steps c and d reach the solved state from anywhere in rows 1 and 2.
It is interesting to find out which flat shapes can be made with this puzzle. Obviously the pieces must be made from a loop of tiles, so each tile must be connected to exactly two other tiles. There is a further constraint, which for example prohibits the normal sized magic to form a 3×3 square with a hole in the middle.
Suppose you have the puzzle in a flat shape. Number the tiles of the loop with the numbers 1 to 2n. For all the odd numbered tiles, count the number of right turns the loop makes at those tiles, and subtract the number of left turns. Do the same for all the even numbered tiles. These two numbers must be equal for the pattern to be possible, and for it to be a flat closed loop they must both be two (or minus two if you numbered them anti-clockwise) because you need 4 quarter turns to go full circle.
It is fairly easy to see why this condition exists. It is true for the initial position of the puzzle. Every time two adjacent tiles move their connection from one edge to another, the condition still holds. Therefore it must be true for every possible shape. (Note that for this reasoning to offer a valid proof, the condition should be extended and formalised so that it does not depend on the puzzle being a flat shape and can handle positions with tiles that are folded onto each other, but is easily done.)
For example, consider the solved position of the Master Edition.
| 12 | 1 | ||
| 11 | 2 | 3 | |
| 10 | 9 | 4 | 5 |
| 8 | 7 | 6 |
With the odd numbered tiles there are right turns at 1, 3, 5 and a left turn
at 9, so there are two more right turns than left.
With the even numbered tiles there are right turns at 6, 8, 10, 12 and left
turns at 2, 4 so there are again two more right turns than left.
With this constraint, there are only 15 possible flat patterns left, and they can all be constructed. It makes a good exercise to try to construct them all.
|
|
|
|
| ||||||||||||||||||||||||||||||||||||||||||||||||||||||||||||||||||||||||||||||||
|
|
|
|
| ||||||||||||||||||||||||||||||||||||||||||||||||||||||||||||||||||||||||||||||||
|
|
|
|
|
An interesting consequence of the constraint above is that even with larger versions of the puzzle, its flat shapes can never enclose an odd area. In other words, if the flat shape has holes then their total area is the same as an even number of tiles. I think I have proved that the converse is also true, i.e. that if a flat shape made of a loop of 4n tiles has no holes, or has holes with an even total area, then the shape can be made from a rectangular magic of the right size.
It is possible to make the Magic Master Edition, or a 'Super Magic' yourself, by recombining two normal Rubik's Magics. The first time this is quite difficult to do, and not for the faint-hearted. After you have done it once or twice it becomes easier, but it will always be a lot of hard intricate work.
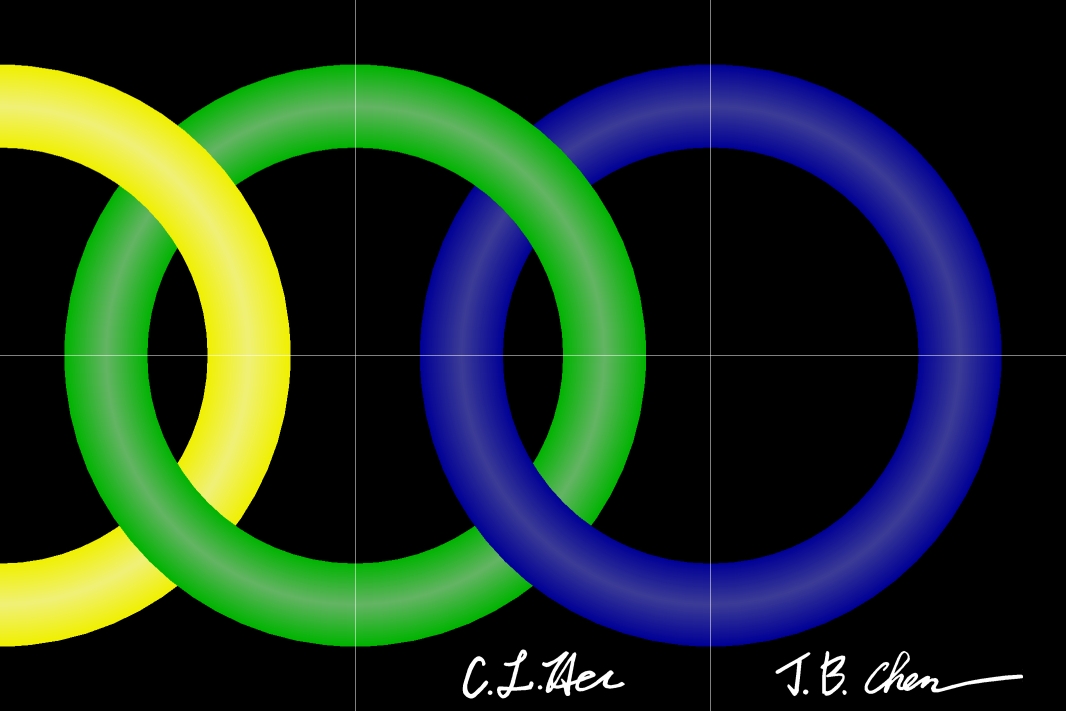
I made a Super Magic by connecting one old magic (black) and one new magic (red). If you look at a normal magic in the starting position (unlinked rings), three tiles at one end of the reverse side will be correct. By connecting the two Magics at those ends, it will be possible to solve the resulting Super Magic. On the front, the red magic is on the left, and the black magic on the right, with the copyright messages of both of them along the bottom. When solved, the reverse shows two sets of 3 linked rings. You can of course connect two Magics of the same type but then one has to be upside down, i.e. with the copyright message along the top edge (red Magics: copyright along top right and bottom left; black Magics: copyright along top left and bottom right). Of course, if you replace the design with one of your own as explained later, then none of the above is relevant.
The magic is made up of tiles which are held together by many loops of the same
size. If the string loops are removed, the tiles fall apart in two halves, and the
paper inside bearing the design can be removed. You can therefore replace the design
with one of your own by replacing the paper inserts. I have made fairly accurate
drawings of the designs for the Create the Cube, Magic Rings and the Magic Balls.
You can download them here:
Create the Cube:
back,
front,
or MSWord document (511Kb).
Magic Balls:
back,
front,
solved,
or MSWord document (79Kb).
Magic Rings:
back left half,
back right half,
front left half,
front right half (about 200Kb each)
Making your own design is difficult, unless you have a finished puzzle to try it out with. Then you can do the following steps to make your design:
To make a Rubik's magic, you need to acquire the tiles and string loops. There are two ways to get these. Either you can buy some Rubik's Magics and take them apart, or you can buy some DIY Magic kits from Rubik's site which consist of 8 tiles and 18 loops (16 plus 2 spare). I do not recommend using the tiles from a Magic Strategy Game (a two-player game using tiles that Rubik marketed at the same time as the Master Edition). These tiles are glued so it is hard to replace its design, there are no dents in the edges of the tiles to allow the loops to wrap around, and also you would still have to acquire the loops themselves.
The string loops are all of the same length, just long enough to wrap around three tiles. Once you know how to connect three tiles together with those loops, the same technique can be used to make a magic of any even number of tiles, so I will first describe how three tiles can be fully connected with 4 string loops.


You can use this technique to build any size magic, as long as it has an even number of tiles. You will need twice as many loops as there are tiles. Note that Magics with a size that is not a multiple of 4 are also possible, and are quite different to play with.
The above was the way the Magics used to be strung when they were first produced. Nowadays a slightly different method is used, that may be slightly easier. This technique goes as follows: